


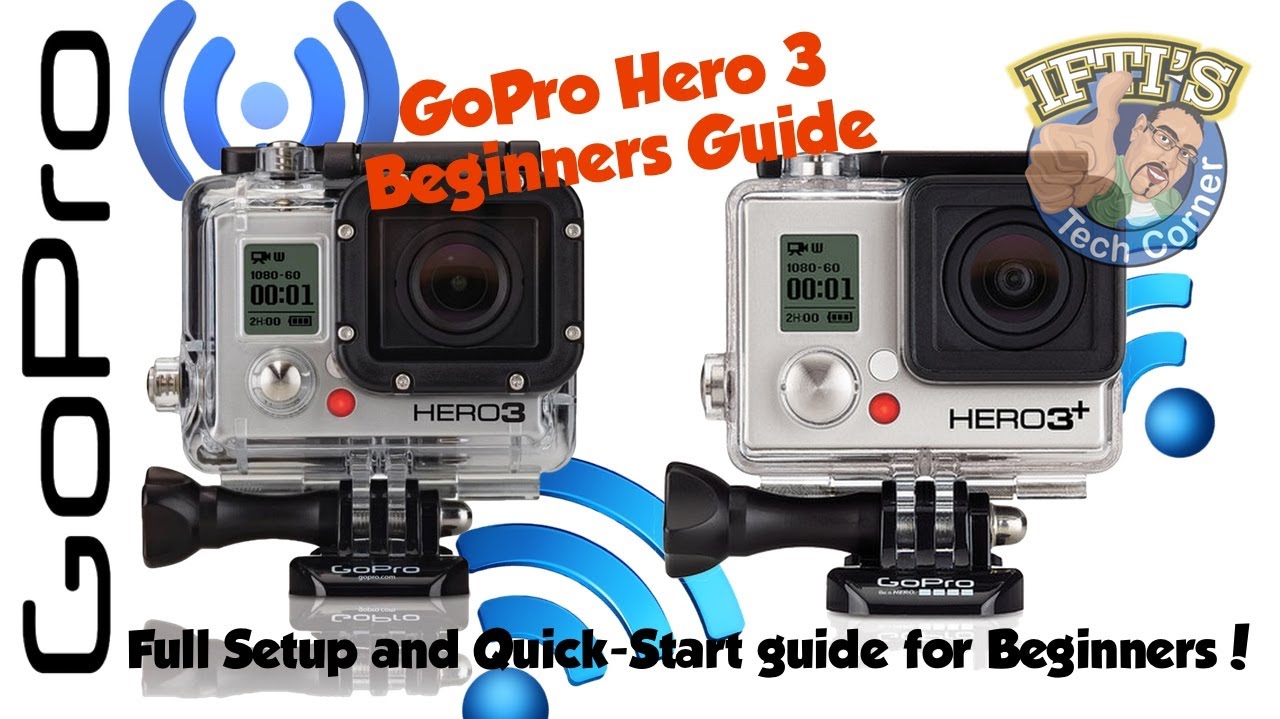
Using GoPro Hero 3+ for the first time might be complicated.
There are precise instructions that need to be followed in unlocking and using the accessories. Each of the GoPro Hero editions has different user manuals and need to be handled differently. This simple guide will help users from unpacking to configuring the camera.
Step 1 – Setting up Your Hero 3+
After removing the tapes and covers from the side of the box, lift the top of the box where the camera stands. Pull the two lock tabs then gently remove the Wi-Fi Remote Control out from the box. Next, loosen the big screw underneath, remove the pin then screw it back again. To remove the camera from the box, turn your camera around, squeeze together the tabs then slide your camera out of the plate.
Step 2 – Removing the Camera from the Waterproof Case
Open the case by lifting the tab on top of the camera and then you can now take out the camera.
Step 3 – Installing the Battery to Your Camera
Inside the box are the batteries, documents, user manuals and others. At the back of your camera, press then slide the button to open the cover. Put the battery properly then return the cover to lock it.
Step 4 – Inserting the Micro SD Memory Card
Lift the small tab at the right side of the camera, properly insert the memory card to the memory slot then return the tab. You can now put back your camera to its waterproof case.
Step 5 – Turning on your Camera and Setting the Date
Just press the Mode button to turn on your camera. To set your camera date, press the Mode button again and then look for the settings symbol then press the button at the top of the camera. Take note that the button at the top of your camera will serve as your “Select” button and your Mode button will be your navigating button. On the settings menu, press the Select button then go to “Setup”. Look for the date settings and then configure it.
Step 6 – Selecting your Camera Modes
If you want to take pictures or record videos, you can select camera mode by pressing the Mode button. The button at the top of the camera will be your Shutter button.
Step 7 – Transferring of Files
Remove your camera from the waterproof case and then remove the tab at the right side of the camera where the Micro SD memory card was inserted. You can see ports for USB and for charger. Insert the USB chord then connect it to your computer, make sure to turn on your camera. There will be a notification on your camera screen to show that you are already connected. You can now start transferring your files.
Step 8 – Using the Wi-Fi Remote Control
To use the remote control, press the button at the left side of you camera. First press will turn the Wi-Fi on, press it again to open the Wi-Fi dialogue then press the top button to select. Press the Mode button and then go to “Wi-Fi RC”. Now, select “New” and it will search for the Wi-Fi Remote. Get your Wi-Fi Remote, hold the red button then press Mode button on your Wi-Fi Remote. Keep holding the red button until it connects with the camera. Both the screens of the remote and the camera will show the same icon when they are matched and connected.
Read and follow instructions properly to avoid misuse of the camera.
Related ItemsGoPro Hero 3+